
Recycling Dried Clay Scraps or Blocks of Clay
You will need a solid surface to work on, a hammer, eye protection glasses, a 9 litre bucket, water, plastic bags (about bread loaf size) and a bit of muscle for wedging.
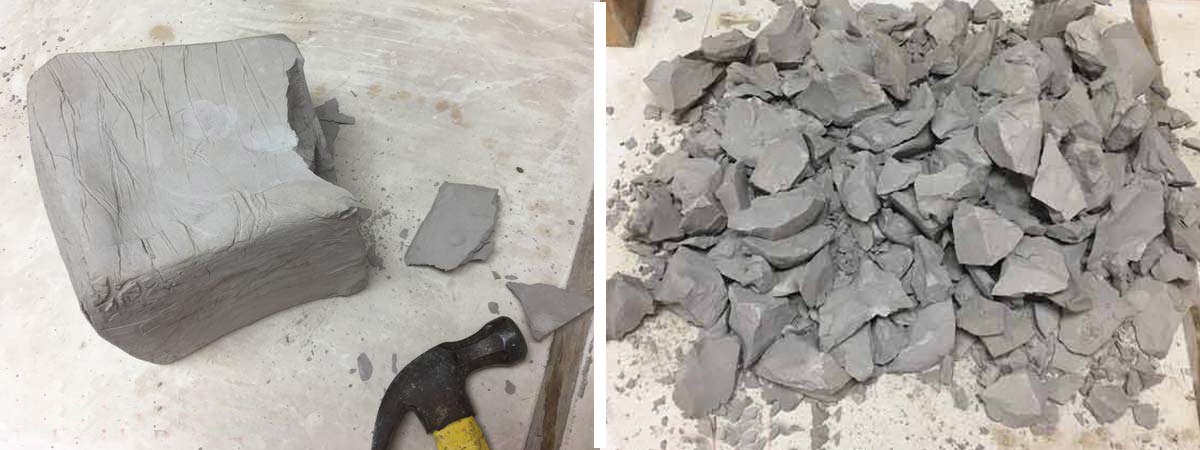
Make sure the block of clay or scraps are totally dry. The clay can be current or even decades old, it doesn’t matter. Put on some eye protection and using a hammer, start breaking the clay from the edge into small pieces. If you are using clay scraps make sure the clay is from the same firing range.
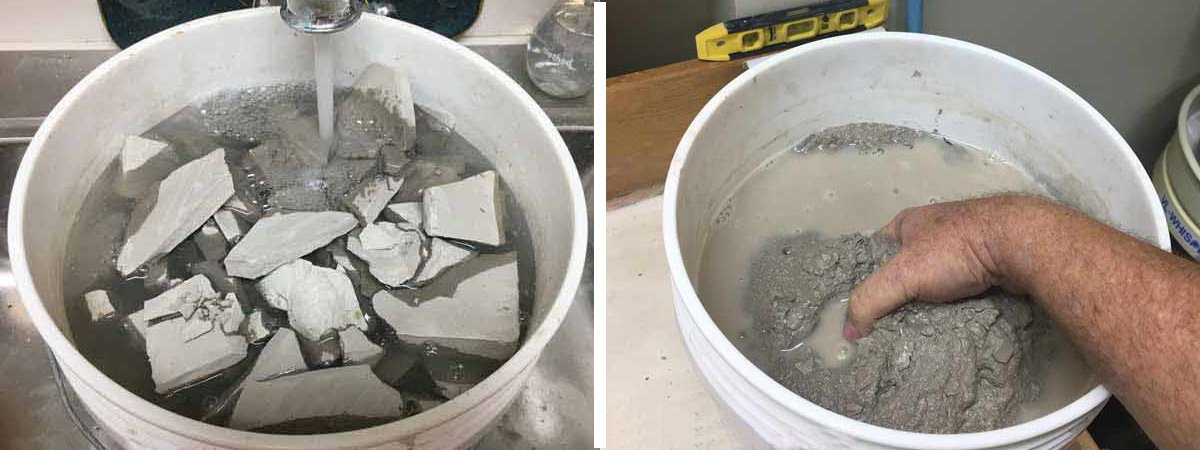
Place the broken clay shards in the bucket and fill with water, covering the clay completely plus an additional 3cm of water over the top. In a day or two, once the slurry in the bucket feels smooth, remove the slurry to a drying work surface.
Spread the clay evenly to about 60mm thick and smooth the edges so that the clay will dry out evenly. Poke holes in the clay for faster and more even drying. Let it dry to the consistency you need for either hand building or wheel throwing. It could take hours or a few days depending on the amount of clay and the weather. If you have to leave the clay unattended for a length of time, place a plastic cover over the surface to slow down the drying.

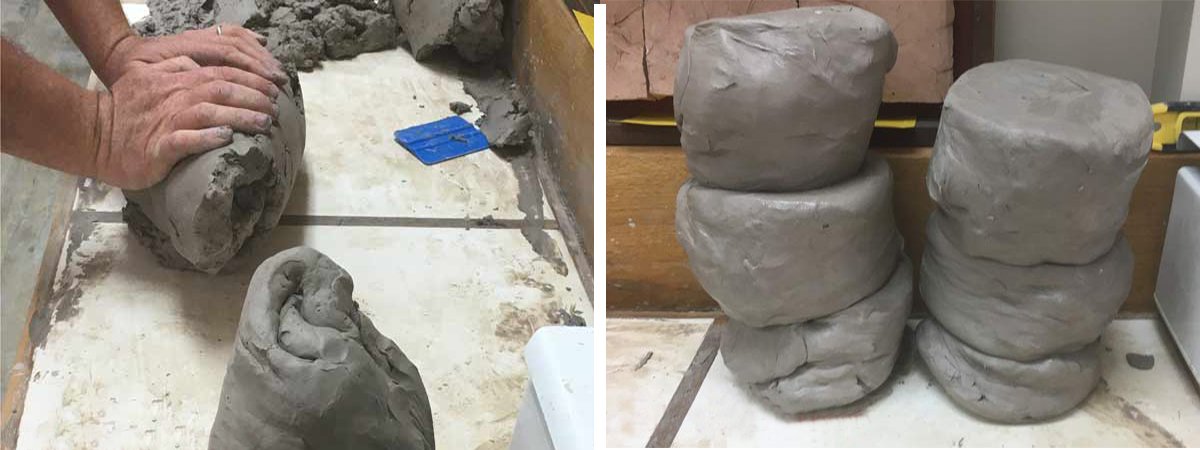
When the clay can be pulled off easily from the work surface, remove it, and divide it into pieces for wedging. Tip: For ease of handling, size the clay into chunks to match your wedging strength.

Wedge thoroughly and place the clay in sealed plastic bags. Use multiple bags to make sure it is air tight. Store your clay in larger sizes so that it doesn't dry out as quickly – giving you longer time to use it.
If you fail at any of these steps and the clay dries out too much, don’t worry, just start again at the beginning ; )
original text and photos courtesy Lakeside Pottery - edit Ed Trost